TL;DR
The right image format depends on what you’re optimizing for: WebP for the best overall balance of quality and file size, JPEG for photos where file size matters most, PNG for logos and graphics needing transparency, and SVG for icons and simple illustrations that need to scale without quality loss.
Beyond format, compression, resizing images to their actual display size, lazy loading, and a CDN all compound to meaningfully speed up a WordPress site — and plugins like Smush, Imagify, or ShortPixel automate most of this without manual work.
Why Choosing the Best Image Format for WordPress Matters?
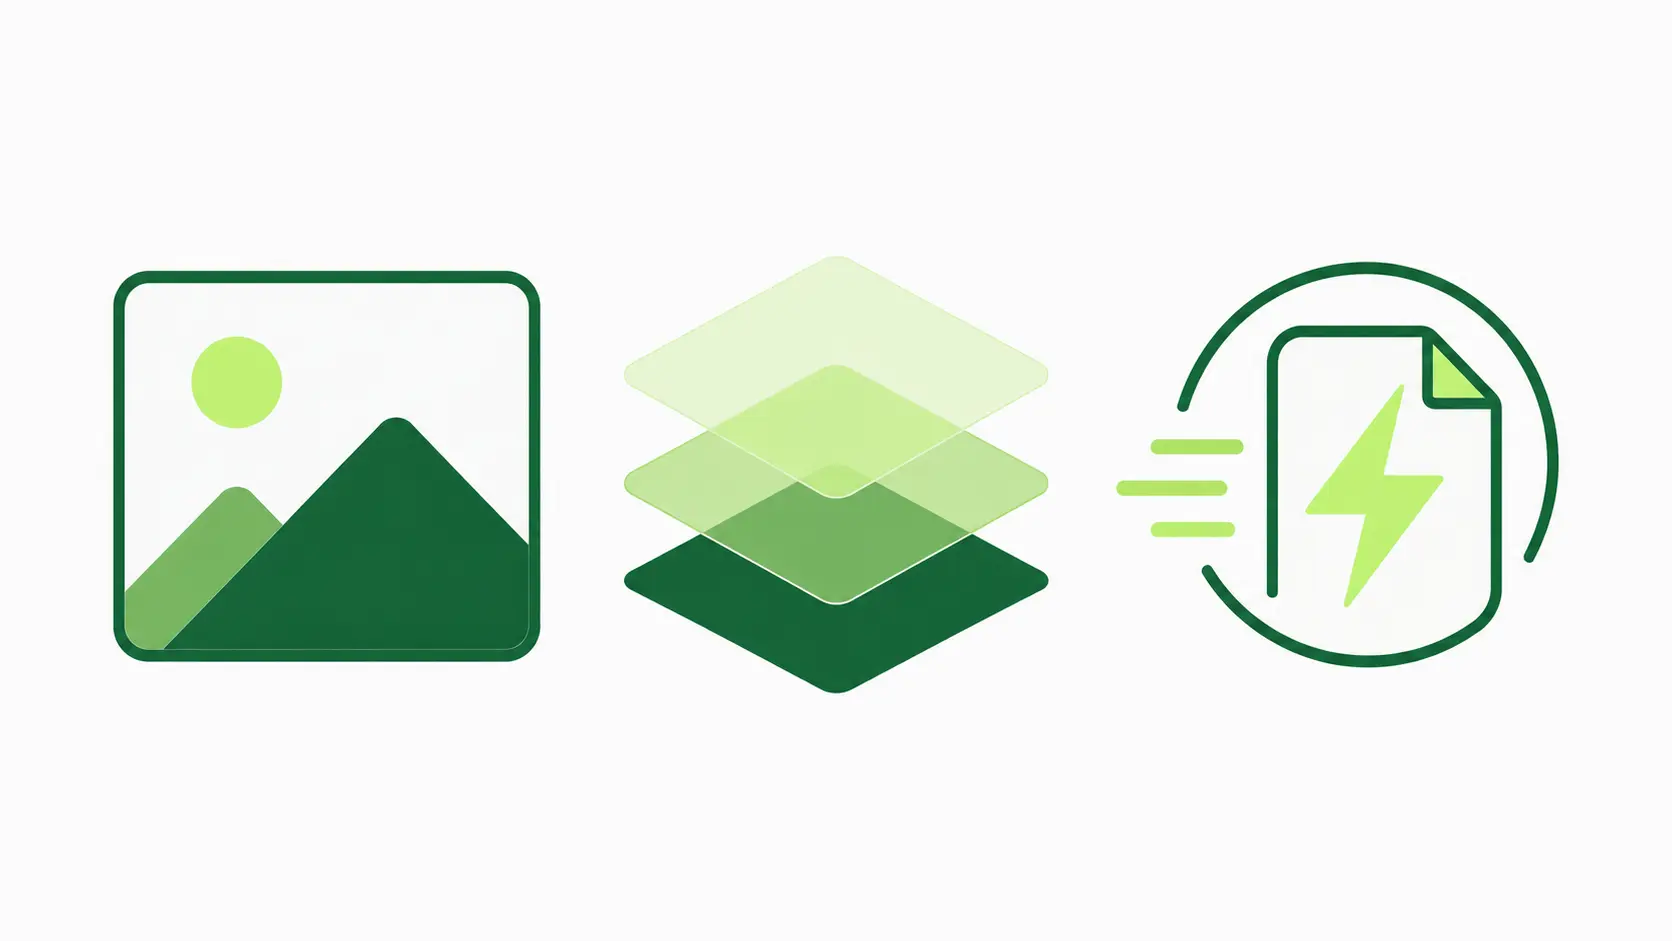
This guide covers everything you need: how to choose the right format for each type of image, how to compress them properly, and which WordPress plugins can automate the process so you’re not doing it manually for every upload.
What is WordPress Image Optimization?
The aim is to make your images look good and load fast. This improves your website’s performance.
Why is Image Optimization Important for WordPress?
1. Website Speed and Performance
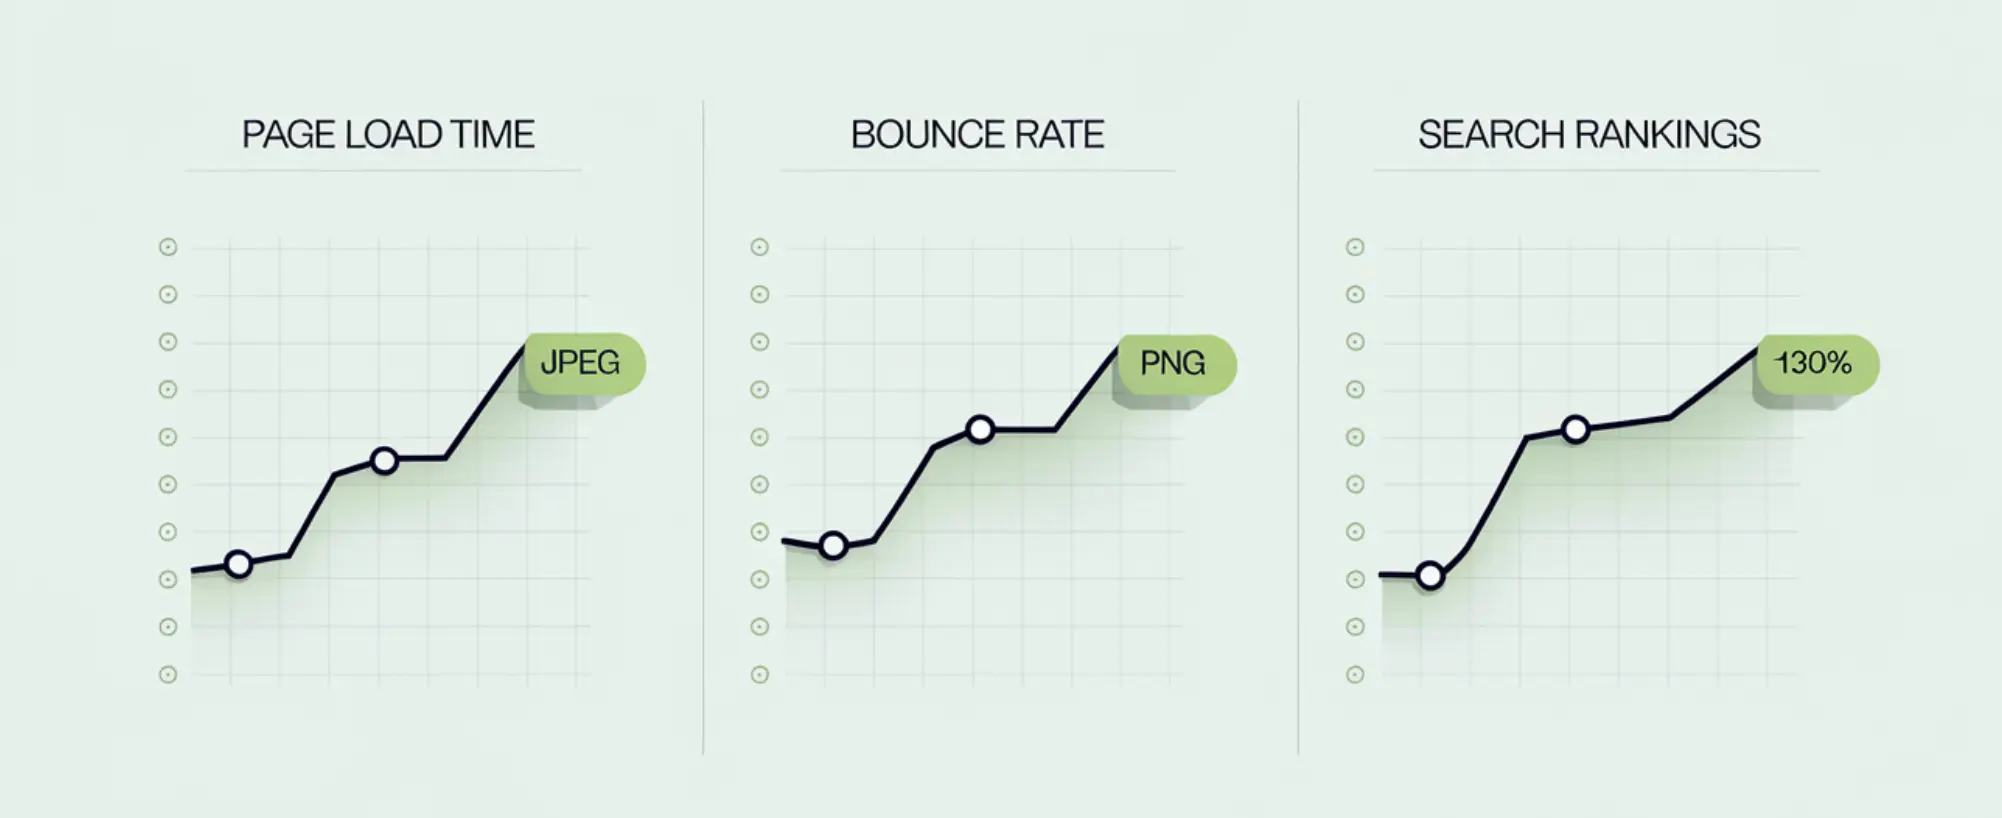
Optimized images, on the other hand, load quickly, improving website speed and boosting overall performance. This directly translates to happier visitors and better search visibility.
2. SEO Benefits
3. User Experience
Understanding Image Formats
Choosing the right image format is a fundamental aspect of WordPress image optimization.
Each format has its strengths and weaknesses, making it suitable for different types of images and use cases.
1. JPEG: Lossy Compression
When to Use JPEG
- Photographs on blog posts and articles
- Large banner images
- Images where file size is more important than perfect clarity
JPEG Pros and Cons
Pros:
- Small file sizes, making them ideal for web use.
- Widely supported by all browsers and devices.
- Good for photographs and complex images.
Cons:
- Lossy compression can lead to quality degradation.
- Not suitable for images with sharp lines or text.
- Repeated editing and saving can further reduce quality.
2. PNG: Lossless Compression
When to Use PNG
- Logos and graphics with transparent backgrounds
- Images with text or sharp lines
- Illustrations and diagrams
- Images where preserving quality is essential
PNG Pros and Cons
Pros:
- Lossless compression preserves image quality.
- Excellent for images with text, logos, and graphics.
- Supports transparency.
Cons:
- Larger file sizes compared to JPEGs.
- Not ideal for photographs with complex colors and gradients.
3. WebP: The Modern Format
When to Use WebP
- Photographs
- Logos and graphics
- Images with transparency
- Any image where you want to optimize file size and quality
WebP Pros and Cons
Pros:
- Superior compression and quality compared to JPEG and PNG.
- Supports both lossy and lossless compression.
- Smaller file sizes lead to faster loading times.
Cons:
- Older browsers may not fully support WebP (though support is widespread now).
- Requires conversion from other formats.
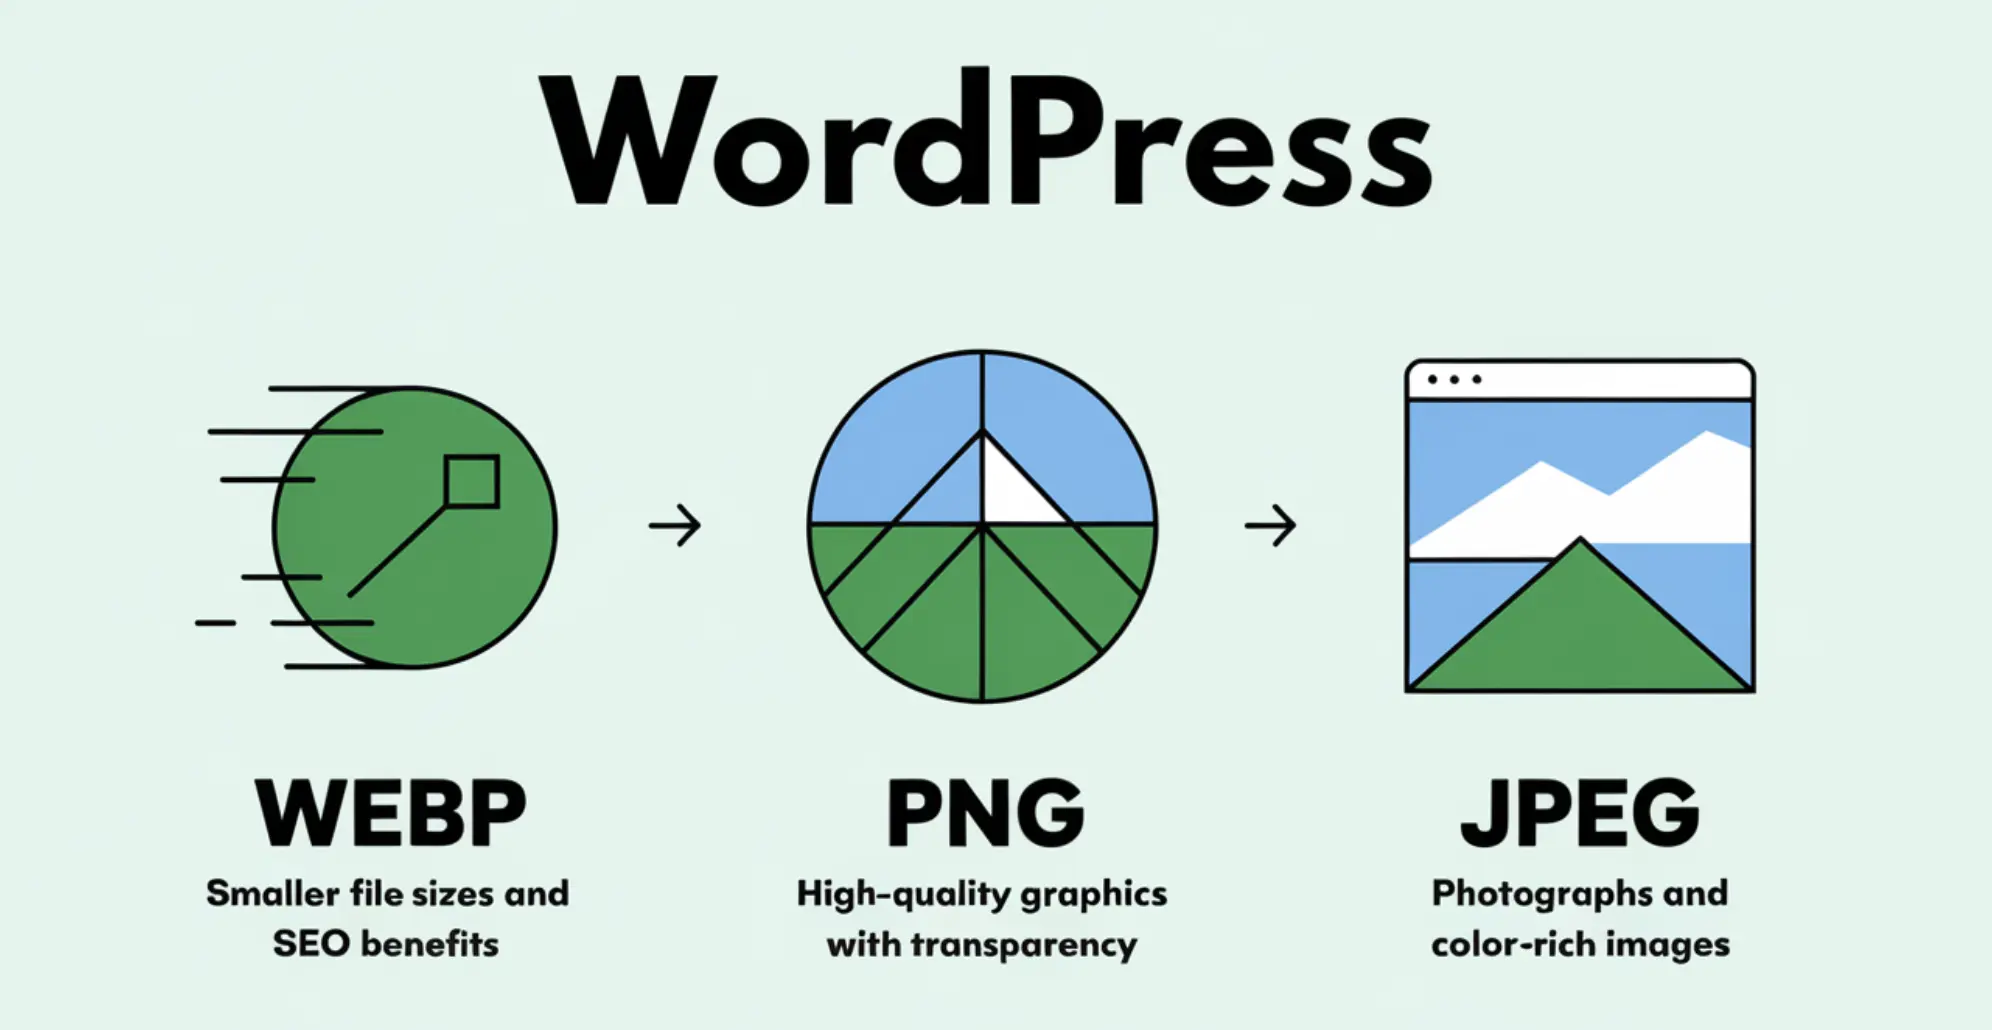
| Format | Best For | Compression | Transparency Support | File Size |
| WebP | Modern websites, performance-focused | Lossy and lossless | Yes | 30% smaller than PNG/JPEG |
| PNG | High-quality graphics, transparency | Lossless | Yes | Larger than WebP and JPEG |
| JPEG | Photographs, color-rich images | Lossy | No | Smaller than PNG, larger than WebP |
4. SVG: Vector Graphics
When to Use SVG
- Logos and icons
- Simple illustrations and diagrams
- Images that need to be scaled without losing quality
- Interactive graphics and animations
SVG Pros and Cons
Pros:
- Scalable without loss of quality.
- Small file sizes for simple graphics.
- Can be animated and interactive.
Cons:
- Not suitable for complex photographs.
- Requires more processing power to render compared to raster images.
- Can be more complex to create and edit.
5. Other Image Formats (Optional) – AVIF, GIF
Choosing the Right Image Format for WordPress
Selecting the appropriate image format is crucial for optimizing your WordPress website’s performance and visual appeal.
Image Type vs. Use Case

Photos
Logos and Graphics
Icons
Illustrations
Image Quality vs. File Size
A key consideration when choosing an image format is the trade-off between image quality and file size.
Lossless formats like PNG preserve image quality but result in larger file sizes.
WebP offers a good balance of both, while SVG provides scalability without quality loss.
How to Optimize Images in WordPress
Now that you know about image formats, let’s dive into optimizing images for WordPress.
1. Image Compression Techniques
Lossy vs. Lossless Compression
2. Image Resizing and Scaling
3. Lazy Loading Images
4. Using a CDN for Image Delivery
Many CDNs also offer image optimization features, such as automatic compression and format conversion. Setting this up correctly, and making sure it stays properly configured as your site grows — is exactly the kind of ongoing work WordPress maintenance covers.
Best WordPress Image Optimization Plugins
1. Smush

Smush is a well-liked image optimization plugin for WordPress. It makes images smaller and faster to load.
This happens automatically when you upload images to your WordPress media library.
2. Imagify
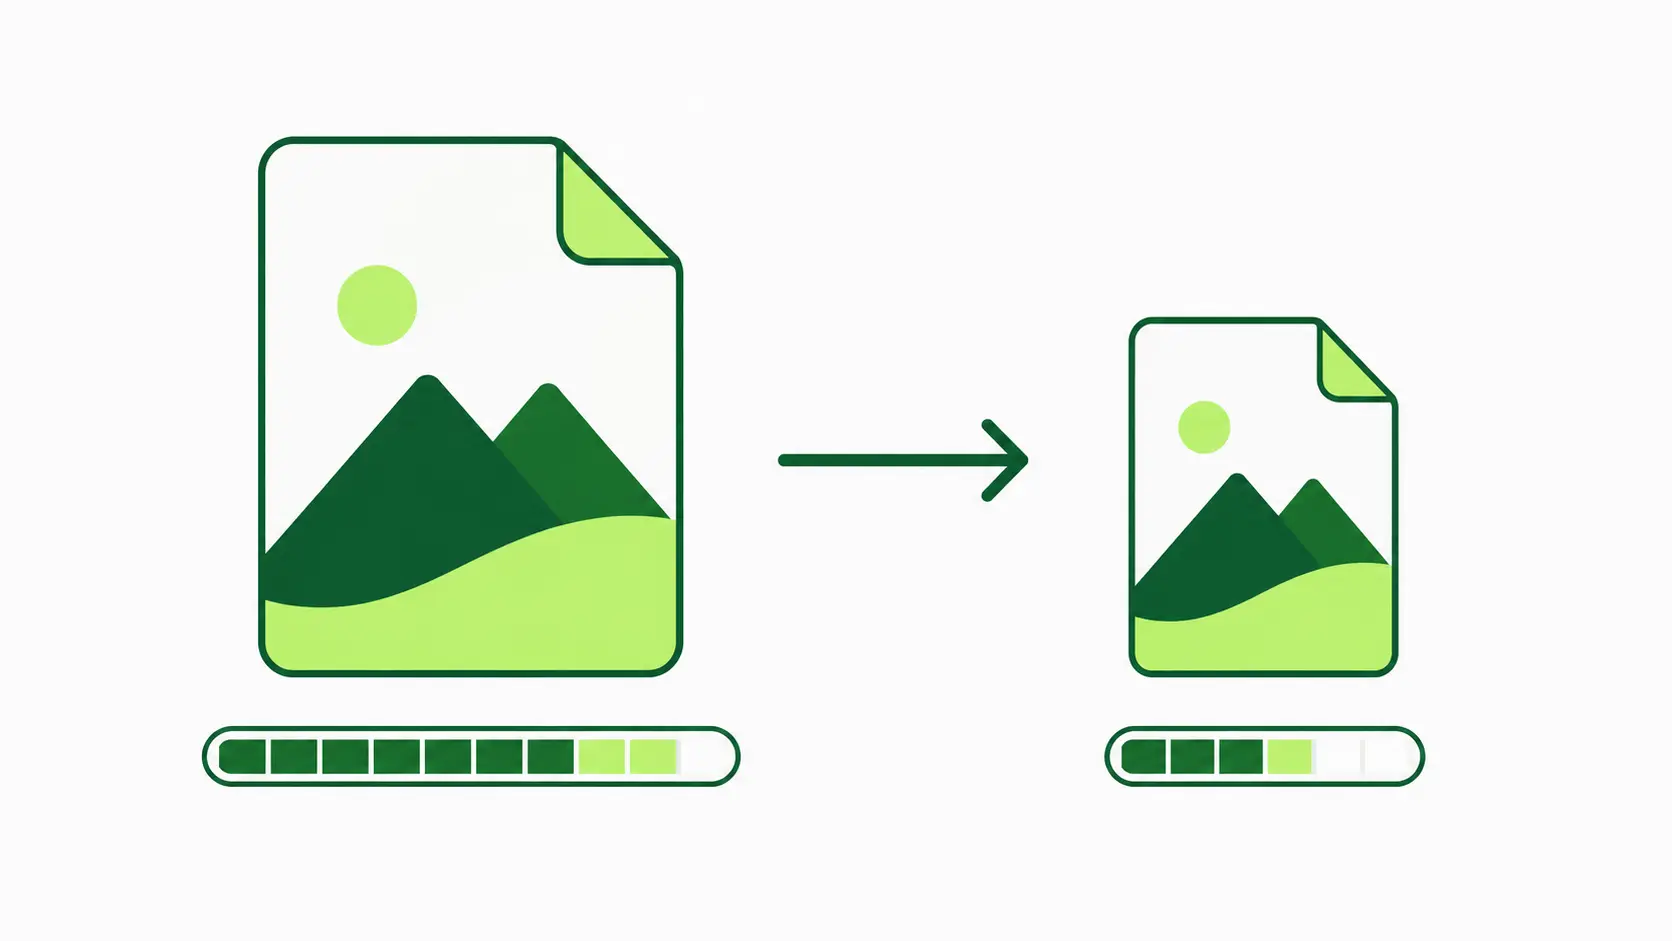
Imagify is another powerful image optimization plugin that uses advanced compression algorithms to reduce image file sizes without sacrificing quality.
The free plan covers up to 20MB of images per month — Imagify reduced this from its earlier 25MB limit, so it’s worth checking current pricing if you’re evaluating it for a busy site.
3. ShortPixel Image Optimizer
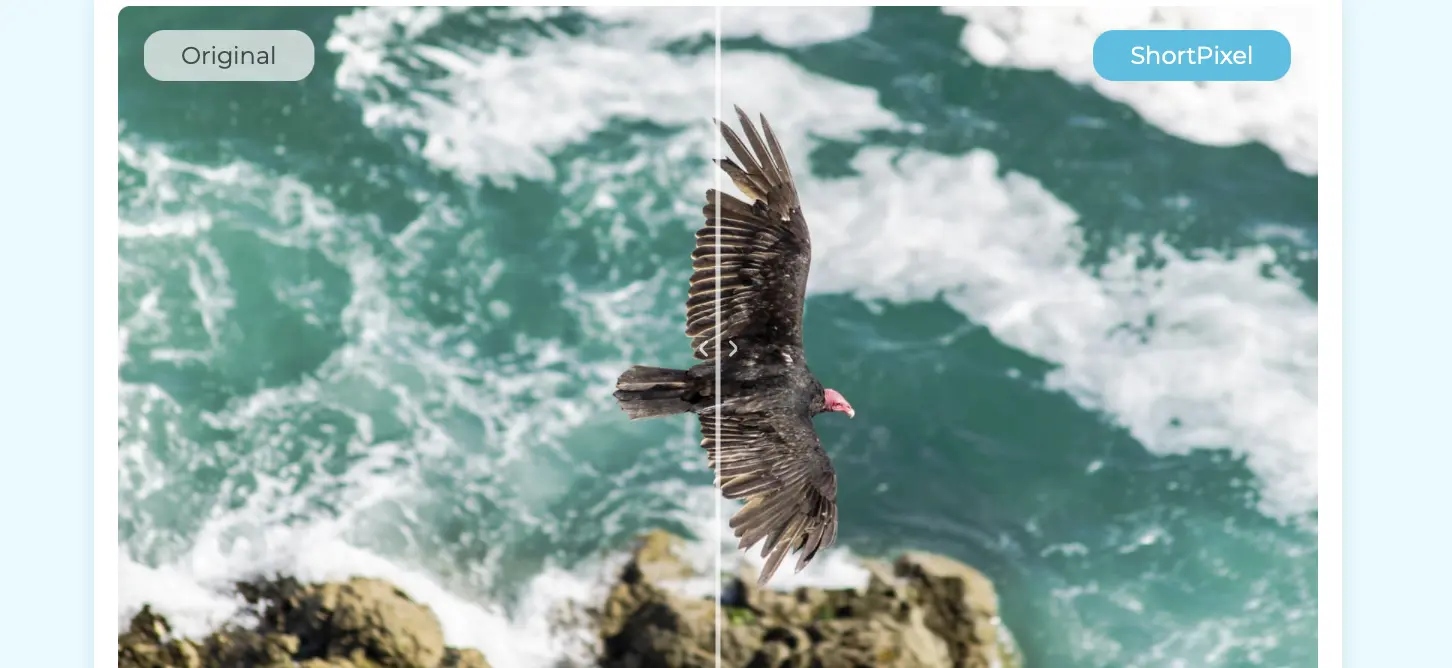
ShortPixel Image Optimizer is a feature-rich plugin that uses both lossy and lossless compression to optimize images. It supports JPEG, PNG, GIF, WebP, and PDF files.
Comparing Plugins
Each of these plugins offers a unique set of features and benefits. Smush is a great option for beginners due to its ease of use and automatic optimization.
Converting Images to WebP
Manual Conversion
You can turn images into WebP manually. There are many online tools and software like Adobe Photoshop or GIMP to help you.
These tools allow you to upload your images and convert them to WebP format.
Manual conversion lets you control the process closely. However, it can take a lot of time. This is especially true if you have many images to convert.
Using Plugins for WebP Conversion
The easiest way to convert images to WebP is by using a WordPress plugin.
Many of the image optimization plugins we discussed earlier, such as Imagify and ShortPixel, offer automatic WebP conversion.
These plugins will automatically convert your existing images to WebP and serve them to browsers that support the format.
This is the most efficient and convenient way to implement WebP on your WordPress website.
Conclusion
The sites that stay fast over time are the ones where this becomes routine, not a cleanup project done once and forgotten.
If keeping up with that routine isn’t something you want to manage yourself, that’s precisely the kind of task that fits naturally into ongoing WordPress support.